Step 1-4
Pack-A-Punch Quest
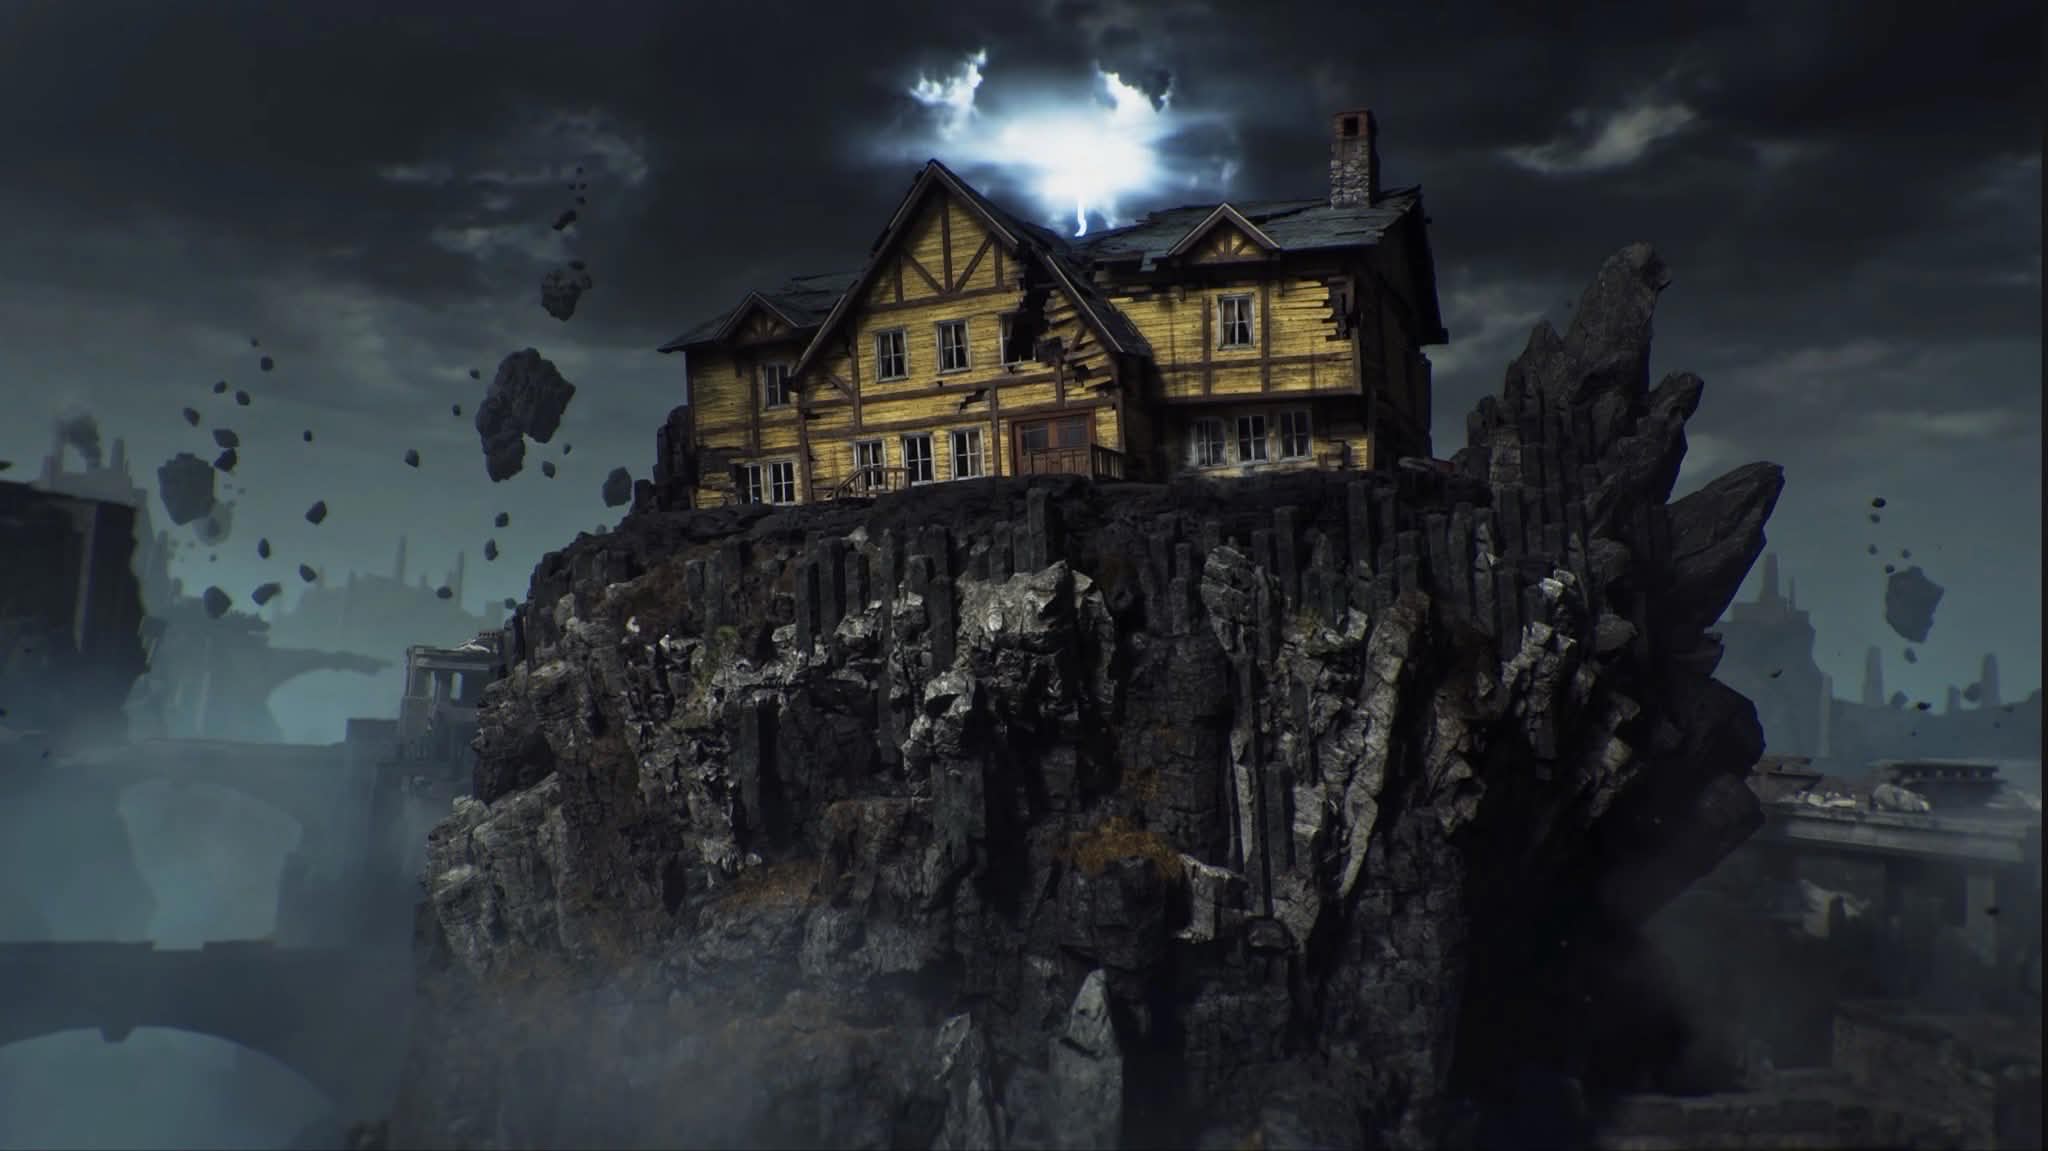
Hold out in the house until you've collected enough Essence to open the first door.
Head downstairs. The phone will ring. Answer it to trigger a cutscene that opens the front door.
Head outside and enter the portal to leave the house for the Nexus Forge.
Place the World Seed on the central platform, then destroy the Dread Skulls.
Follow a Dread Skull into Veytharion's Temple and keep shooting it until it pops, then pick up the Usurped Flame.
Head back to the central platform and throw the Usurped Flame into the Brazier.
Follow the second Dread Skull into Caltheris' Temple and repeat the process.
Crank both wheels on the Nexus Forge. The platform lowers into a staircase and Pack-a-Punch opens.
Equipment
The Void Claw
After opening Pack-a-Punch, green lanterns light up around the map. Interact with one to pick up the Void Claw tactical equipment. It's unlimited use, but each pickup only lasts 30 seconds to 1 minute before it needs to be grabbed again.
Purple Orbs are scattered around the map. Use the Void Claw to pull one in. You can redirect an orb multiple times in any direction before bringing it to Pack-A-Punch, where it will circle the PAP well.
Once the orb is delivered, crank the wheel to Surge the Nexus. This lights the Braziers with the Astral Flame, which you can pick up like the Usurped Flame. It's one-use, so repeat the orb delivery to get it again.
Step 5
The Forest & Warden's Blight
In the Forest, interact with a charred body to trigger a mini-cutscene and receive a piece of the Warden's Blight.
Find the second charred body and interact with it for another mini-cutscene and piece.
Melee the floorboards of the house for a final mini-cutscene and the last piece.
To re-enter the Forest, flip the round and eat the seed.
Once you have all 3 Warden's Blight parts, head back to Dravakar's Temple and go to the Secret Passage. Grapple up to build the Warden's Blight.
Step 6
The Temples
The four temples below can be completed in any order.
Inside Veytharion's Temple, pick up the 4 Stone Blocks (hold interact to move them): Fire, Water, Air, and Earth. Death Perception makes them easier to spot.
In Veytharion Sanctuary, slot all 4 blocks into the wall on the left side. The starting order can be any of the following: Water, Earth, Air, Fire • Earth, Water, Air, Fire • Fire, Air, Water, Earth • Fire, Air, Earth, Water.
Transfer all 4 cubes to the other side safely. Once the Air cube has been moved to the middle bridge, you can melee the dial above to send a cube of your choice across.
Warning
Fire can never be left alone with Water or Earth. Air is safe with everything and works as your buffer.
Once all four blocks are in place, pick up Fire first.
Move Fire and Air to the right side, then leave Fire there.
Go back to the left with Air, and grab either Water or Earth.
Head to the right again. Put down Air first to create a buffer with Fire, then deposit your Water or Earth block.
Pick up Fire first, then Earth, and bring them both back over to the left side.
Put down Air to create a buffer, then place Fire. Grab your remaining Water or Earth block, then Air, and bring them back to the right.
Deposit your remaining block, then head back and grab Fire. Place Air down first, then Fire on top, to finish.
Reward
Once the mini-game is done, the wall opens to reveal a Well/Portal and a free Perk Power-Up.
In Caltheris' Main Chamber, near the Ammo Crate, find the 4 stone squares set into the floor.
Stand on the squares from left to right. 4 yellowish lights will appear. Shoot each one.
Once you've stood on all the squares and shot all the lights, the wall to your right opens, revealing a Lantern and 2 Purple Orbs.
Note
These orbs circle around spawn, likely just an extra way to grab more orbs early.
Find the Fractures of Nyxara, crystals on the wall with a clock-hand pointer, and use the Void Claw to rotate them.
One Fracture is hidden above the entrance of Dravakar's Temple, inside a wall. PhD Flopper through the wall to reveal it.
Use the Astral Flame to shoot a fireball at the eye, lighting it up. This sends purple balls bouncing around the room off the Fractures.
Use the Void Claw to rotate the crystals and redirect the purple ball to the marked door. You can also place a missing crystal onto an empty claw and pick it back up.
Go up to the orb in the new room. You'll fall into Nyxara's Inner Sanctum.
Walk to the large vine in the middle of the room. It will slowly drain your life and send you into The Forest.
Interact with the blue text on the wall to receive a riddle.
Four pillars, each carved with a symbol, sit in a square: Galaxy (top-left), Moon (top-right), Runner (bottom-left), and Star (bottom-right). Each starts facing inward: Moon = West, Galaxy = South, Star = North, Runner = East.
Four levers control the pillars: one on the middle pillar, one down the corridor to the right, one down the corridor to the left, and one in the room above the temple's entrance. Each lever spins 2 pillars at a time. The Left lever turns Galaxy clockwise and Runner counter-clockwise, the Right lever turns Moon counter-clockwise and Star clockwise, and the Bottom lever turns Runner clockwise and Star counter-clockwise.
Rotate each pillar to match the riddle, then interact with the middle pillar's lever to lower it and reveal a secret passage in the ceiling.
Corruptions
Shimmering Thread, Ancient Scroll & The Hammer
For the Shimmering Thread (used at Caltheris): use the Void Claw to pull in a Purple Orb and interact with it for a chance to drop it.
For the Ancient Scroll (used at Nyxara): put Shadow Rift on your weapon, then head to the Forest and get a few kills with the ammo mod. A reward sound will play and the Ancient Scroll will drop on the floor.
For The Hammer (used at Dravakar): put Shatterblast on your weapon, then head to the Wonder Weapon Forge Room in Dravakar's Temple. The Hammer is behind one of the Viking shields on the wall. Kill zombies with Shatterblast near it and the shield will blow off, dropping the Hammer.
Upgrade
Void Talon (Grapple Upgrade)
Shoot the basketball inside the house, through the broken window in the center.
Flip 3 to 4 rounds until you have 4 blue symbols on the house.
Wait for an Exfil round, then shoot the symbols in the order they appeared.
Ring the phone booth and complete the HVT. You can then teleport back to the house.
Inside the house, go upstairs and look through the zombie spawn next to the bed. Shoot the shelf with the Charged Warden's Blight and pick up the Eye of the Forge.
Take the Eye of the Forge to a grapple station and empower it. This upgrades the Void Claw into the Void Talon.
Restoration
Rebuild the Nexus
Take the upgraded grapple to the Nexus Core and remove the 12 eye-shaped plates (2 per wall, across 6 walls) to drop them down. Webbed Gears will appear.
3 more eye-shaped plates appear on the Monoliths around the Nexus Forge. Remove these with the Void Talon as well.
Throw fireballs (Astral Flame or Usurped Flame) at the exposed gears to burn away the webbing holding them in place.
Crank the wheel on the Pack-a-Punch well used to light the Braziers, then interact with the lever to engage the gears.
Note
It's possible other fire sources (such as a Molotov) also work here, this hasn't been fully confirmed yet.
Restoration
Cleanse the Temples
Head back upstairs to the Nexus Forge and interact with the 3 cranks on the Monoliths to align it toward a Boss Temple.
A lever underneath Pack-a-Punch changes which direction the cranks turn, either clockwise or counterclockwise, so make sure to check which way yours is set before using the solver below.
Rotation Direction
Crank Starting Positions
Target
Align all three cranks to Veytharion's Temple.
Place the corrupted item in the Brazier in Veytharion's Main Chamber.
Get the Astral Flame and light the Brazier. It will burn with both an Astral Flame and a Red Flame.
Bring a zombie close to the flame to imbue it with the Red Flame. The zombie will take on a symbol.
Take that zombie to one of the Titan Traps and kill it with the hand that matches its symbol on the handcuff. This breaks the handcuff.
Align all three cranks to Caltheris' Temple.
Place the Shimmering Thread in the Brazier in Caltheris' Main Chamber.
Get the Astral Flame and light the Brazier. It will burn with both an Astral Flame and a Red Flame.
Bring a zombie close to the flame to imbue it with the Red Flame. The zombie will take on a symbol.
Take that zombie to one of the Titan Traps and kill it with the hand that matches its symbol on the handcuff. This breaks the handcuff.
Align all three cranks to Dravakar's Temple.
Place The Hammer in the Brazier in Dravakar's Main Chamber.
Get the Astral Flame and light the Brazier. It will burn with both an Astral Flame and a Blue Flame.
Bring a zombie close to the flame to imbue it with the Blue Flame. The zombie will take on a symbol.
Take that zombie to one of the Titan Traps and kill it with the hand that matches its symbol on the handcuff. This breaks the handcuff.
Align all three cranks to Nyxara's Temple.
Place the Ancient Scroll in the Brazier in Nyxara's Main Chamber.
Get the Astral Flame and light the Brazier. It will burn with both an Astral Flame and a Red Flame.
Bring a zombie close to the flame to imbue it with the Red Flame. The zombie will take on a symbol.
Take that zombie to one of the Titan Traps and kill it with the hand that matches its symbol on the handcuff. This breaks the handcuff.
More Coming Soon
More steps will be added to this guide soon.